Transforming the lighting in your home isn’t just about changing the way a room looks; it can alter the entire atmosphere of your space. Installing dimmer switches is a simple, yet powerful upgrade that lets you adjust the lighting to fit any mood or occasion. Whether you’re entertaining guests or creating a cozy reading nook, the right lighting makes all the difference.
- Discover the variety of dimmer switch types, from classic rotary to modern smart options, to best suit your home’s unique style.
- Equip yourself with a straightforward step-by-step installation guide that ensures both functionality and a flawless finish.
- Learn essential safety precautions to protect yourself and your home during the installation process.
- Troubleshoot common installation pitfalls to maintain smooth and effective lighting adjustments over time.
By delving into this guide, you’ll not only gain the skills to enhance your home’s lighting but also the confidence to explore further DIY electrical projects. Experience the transformative power of perfectly curated lighting in every corner of your home.
Tools and Materials You Need for the DIY Guide to Installing Dimmer Switches
Embarking on a DIY project like installing dimmer switches calls for the right tools and materials to achieve a seamless outcome. Before you begin, ensure you have gathered everything necessary to avoid interruptions. Proper preparation not only simplifies the process but also enhances safety.
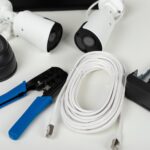
First, you’ll need a screwdriver set. It’s essential for removing the cover plate and tightening the screws that secure the dimmer switch in place. A voltage tester is crucial for confirming that the circuit is de-energized, safeguarding against electrical shocks. Don’t forget wire strippers; they’re indispensable for preparing the wires for connection.
Add to your list a pair of needle-nose pliers for maneuvering wires with precision. Additionally, gathering electrical tape is wise to insulate connections and prevent short circuits. You will also require a faceplate compatible with dimmer switches to ensure a neat finish.
The actual dimmer switch must be compatible with both the lighting type and dimming technology you plan to use. Compatibility ensures optimal performance and prevents malfunctions.
Understanding Dimmer Switch Types
Choosing the right type of dimmer switch is key to enhancing your home’s lighting dynamics. Each type offers distinct functionalities and is suited for different environments. Understanding these options enables you to select the best fit for your needs.
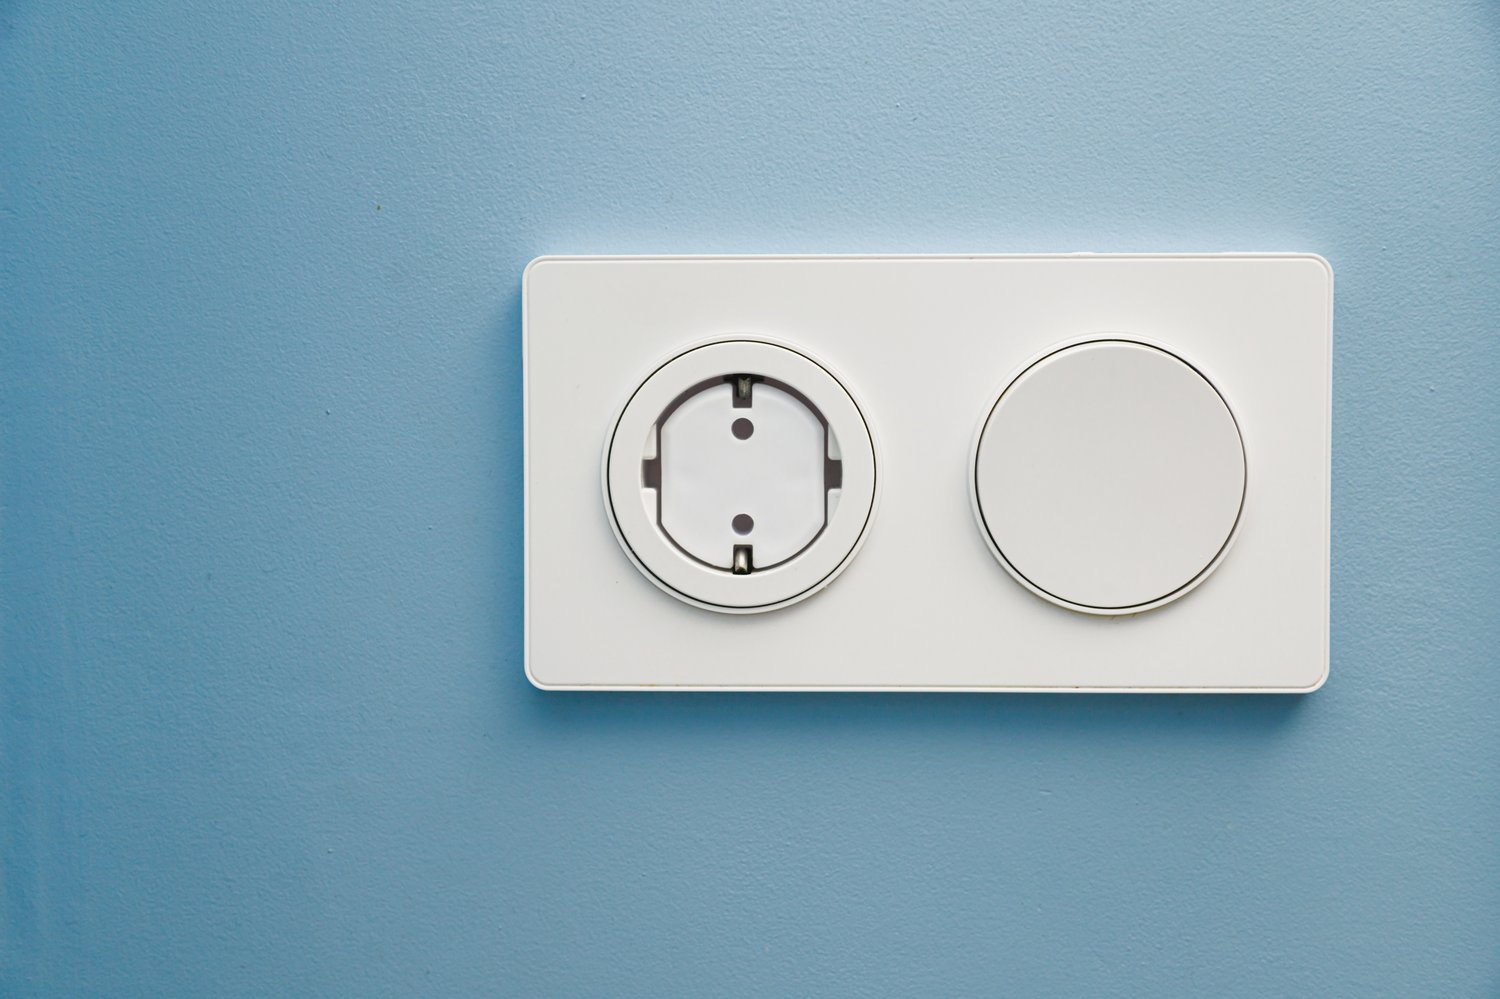
Rotary Dimmer Switches are traditional and easy to operate. Simply turn the knob to adjust the lighting level, making them ideal for rooms where simplicity is preferred. Their straightforward design ensures they are user-friendly and reliable.
Slide Dimmer Switches offer a linear control mechanism. By sliding a lever, you can fine-tune the lighting intensity. They’re excellent for spaces where gradual lighting adjustments are necessary, providing precise control over the ambiance.
Smart Dimmer Switches, the latest in lighting control technology, enable you to manage lighting from a smartphone or smart home system. Perfect for tech-savvy users, they allow for the integration of lighting control into broader home automation systems.
The right dimmer switch type can transform your living space, so consider your specific needs and technological preferences before making a choice. Be mindful of compatibility with your current fixtures and the lighting atmosphere you wish to create.
Step-by-Step DIY Guide to Installing Dimmer Switches: Create Perfect Lighting for Any Room
Transforming your home lighting with dimmer switches can greatly enhance the mood and atmosphere of any room. This step-by-step guide is designed to make the installation process straightforward, even if you’re tackling it for the first time. By following these steps, you’ll ensure proper functionality while keeping aesthetics in mind.
Step 1: Turn Off Power
Begin by switching off the power to the circuit you’ll be working on. Locate your home’s circuit breaker panel and turn off the circuit breaker that controls the light switch you’ll be replacing. Use a voltage tester to confirm the power is off to avoid any electrical hazards.
Step 2: Remove Existing Switch
Carefully unscrew the existing light switch cover plate and the switch from the wall. Gently pull the switch out of the junction box, exposing the wires. Take note of the wire connections, either by labeling them or taking a picture for reference.
Step 3: Connect the Dimmer Switch
Consult the manufacturer’s instructions of your dimmer switch. Typically, you’ll connect the dimmer’s ground wire to the grounding wire in the box, the black wire from the dimmer to the black supply wire, and the other black wire to the black wire going to the light fixture. Use wire nuts to secure the connections.
Step 4: Secure and Test the Dimmer Switch
Carefully push the connected wires into the junction box, ensuring everything is arranged neatly to fit the dimmer switch. Screw the dimmer into place, and then attach the cover plate. Once secured, restore power at the circuit breaker and test the dimmer switch. Ensure it adjusts the light intensity smoothly without any flickering or buzzing.
Safety Precautions and Tips for Installing Dimmer Switches
When dealing with electrical installations, safety should always be the top priority. Understanding the necessary safety measures can prevent accidents and ensure a smooth installation process.
Respect Electricity
Before beginning your installation, always double-check that the power is off. Using a reliable voltage tester to confirm there is no live current running through the switch is a crucial step no matter how experienced you are.
Use the Right Tools
Using proper tools is essential for a safe installation. Insulated screwdrivers, wire nuts, and pliers designed for electrical work will help reduce the risk of shock. Inspect your tools for damage before use.
Read Manufacturer Instructions
Each dimmer switch may have specific installation requirements. Always read the manufacturer’s installation instructions thoroughly before proceeding. This ensures compliance with any unique safety guidelines related to the product.
Consider Consulting a Professional
If you’re uncertain about any step of the process or face unexpected issues, it may be wise to consult a licensed electrician. This ensures the work is done safely according to local electrical codes.
By taking these safety measures into consideration, you can confidently install dimmer switches and enjoy the benefits of adjustable lighting without any risks.
Troubleshooting Common Problems in Dimmer Switch Installations
Even experienced DIY enthusiasts sometimes encounter issues when installing dimmer switches. While these devices can dramatically enhance your home’s lighting atmosphere, certain problems can arise. Identifying and resolving these issues ensures a smooth experience with your dimmer switches.
Flickering Lights
One common problem after installation is flickering lights. This can occur due to incompatible bulbs or insufficient wattage ratings. Make sure to use dimmable LED or incandescent bulbs with your dimmer switch. Verify that the dimmer’s capacity matches the wattage of your light fixtures.
Inconsistent Dimmer Performance
If your switch isn’t dimming lights evenly, you may be dealing with an overload. Check if the total connected load exceeds the dimmer’s rating. Consider replacing the dimmer switch with a higher-capacity model to ensure stable performance.
Buzzing Noises
Buzzing or humming noises often occur with low-quality dimmers or incompatible bulb types. Ensure that bulbs are specified for dimmer use and consider switching to high-quality, noise-resistant dimmer models to reduce unwanted sound.
Dimmer Heating Up
A dimmer switch getting too hot can signal excessive electrical load. If the wall plate feels unusually warm, reduce the number of lights controlled by the dimmer. This simple adjustment can alleviate overheating issues.
Non-Responsive Dimmer
If your dimmer switch fails to respond, the wiring might be incorrect. Double-check all connections, ensuring they adhere to the manufacturer’s guidelines. Mismatched wires can prevent proper operation. If problems persist, consult a professional for further diagnosis.
Tackling these common installation issues will help you maintain an efficient, trouble-free lighting system. By understanding potential pitfalls and how to resolve them, you can enjoy the perfect ambiance enhanced by your newly installed dimmer switches.
Frequently Asked Questions About Installing Dimmer Switches
Do dimmer switches work with LED bulbs?
Yes, but ensure the dimmer is compatible with LEDs.
Can I install a dimmer switch on any light fixture?
Generally, yes, but check fixture compatibility first.
What tools are needed for installing a dimmer switch?
- Screwdriver
- Wire cutter/stripper
- Voltage tester
- Electrical tape
Is it necessary to turn off the power before installing a dimmer switch?
Absolutely, always cut power at the circuit breaker first.
What are the safety precautions when installing dimmer switches?
- Turn off power
- Use insulated tools
- Follow manufacturer’s instructions
Why is my dimmer switch buzzing?
This could be due to incompatible bulbs, try swapping to recommended types.