In an age where technology seamlessly integrates with everyday life, upgrading your old doorbell to a smart version is a step towards modernizing home security. Not only do smart doorbells offer added convenience, but they also provide peace of mind by allowing you to monitor visitors through your smartphone, even if you’re miles away from home. This transformation ensures your doorstep is safeguarded by the latest technology, and the wiring process is simpler than you might think!
- Understanding Smart Doorbells and Their Benefits: Discover the advanced features of smart doorbells and how they surpass traditional systems.
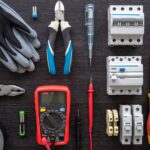
- Preparation and Tools for Installing a Smart Doorbell: Learn the essential tools and preparatory steps crucial for a smooth installation.
- How to Install a Smart Doorbell: Wiring Guide for Replacing Your Existing Doorbell Effectively: Follow a detailed guide to ensure proper wiring and secure installation of your smart doorbell.
- Testing and Troubleshooting Your New Smart Doorbell: Ensure your new system operates flawlessly with our testing and troubleshooting tips.
- Maintaining and Upgrading Your Smart Doorbell System: Explore routine maintenance tips and potential upgrades to keep your system at peak performance.
By diving into this guide, you’ll be equipped with the knowledge to transform your home’s entryway with ease, enhancing both security and convenience. Whether you’re a seasoned electrician or a DIY enthusiast, this article provides practical insights to ensure your smart doorbell installation is a success.
How to Install a Smart Doorbell: Wiring Guide for Replacing Your Existing Doorbell Effectively
Upgrading to a smart doorbell not only enhances the security of your home but also offers advanced features that were not available with traditional doorbells. Follow this detailed guide for replacing your old doorbell with a modern, smart version.
Step 1: Remove the Old Doorbell
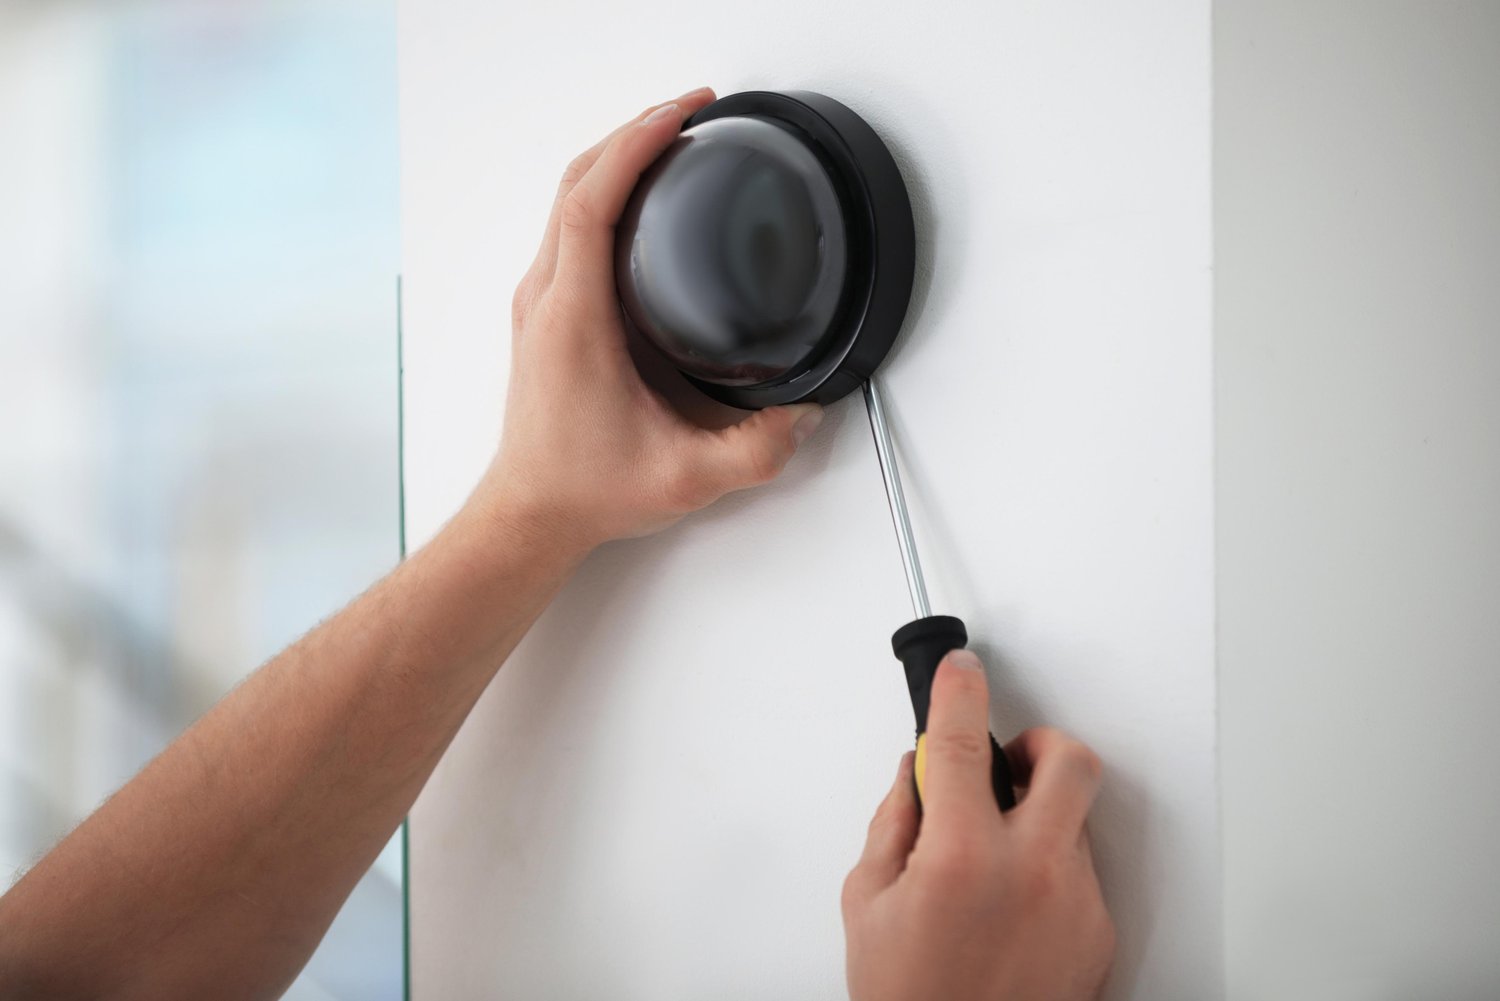
Begin by turning off the power to the doorbell system at the circuit breaker. Safety is crucial, so ensure there is no electrical current flowing. Use a screwdriver to unscrew the old doorbell from the wall. Carefully disconnect the wires attached to it, taking note of their configuration for future reference.
Step 2: Check and Adjust Wiring
Examine the wires exposed after removing the old doorbell. Smart doorbells often require a power source of 16-24 volts AC. Verify that your existing wiring meets this requirement. If necessary, consult with a professional electrician. Slightly strip the ends of the wires to ensure they connect well to the new smart doorbell.
Step 3: Secure the New Smart Doorbell
Use the mounting bracket provided with your smart doorbell to position it correctly on the wall. Align the holes of the bracket with the existing screw holes. Connect the doorbell wires to the designated terminals on the smart doorbell. Use a drill to mount the doorbell securely in place. Once secure, the doorbell should sit flush against the wall.
With these steps completed, proceed to the next stage to ensure everything functions optimally.
Testing and Troubleshooting Your New Smart Doorbell
Once the smart doorbell is installed, it is vital to conduct a series of tests to confirm its operational integrity. Here’s how to test and troubleshoot common issues.
Testing the Functionality
Turn the power back on at the circuit breaker. Test the doorbell by pressing the button; listen for the chime or notification sound. Ensure that alerts are being sent to your connected devices, like smartphones or tablets.
Troubleshooting Common Issues
If the doorbell does not chime, check the power supply. Ensure all wire connections are secure and correctly installed. Verify the doorbell’s compatibility with your Wi-Fi network. A weak signal can hinder its performance; adjust the router position if necessary.
For persistent issues, refer to the smart doorbell’s user manual or reach out to customer support for model-specific advice.
By sharply focusing on these aspects, your smart doorbell should function seamlessly, bringing enhanced security and convenience to your home.
Maintaining and Upgrading Your Smart Doorbell System
Ensuring your smart doorbell operates seamlessly requires regular maintenance. By dedicating just a little time to upkeep, you can prolong the life of your doorbell and maintain your home security at its peak.
One of the first steps in maintenance is to periodically check the functionality of your doorbell. Test the video and audio quality, and ensure that notifications are being received properly on your devices. Regular testing can help identify issues before they escalate.
Keep an eye on the firmware updates that manufacturers release. These updates can enhance security features, fix bugs, and sometimes even introduce new functionalities. Always ensure your smart doorbell has the latest firmware installed.
Cleaning the exterior of your smart doorbell can prevent the accumulation of dirt, which might obstruct the camera lens or microphone. Use a soft, damp cloth to carefully clean the surface and avoid any harsh chemicals that could damage the components.
Battery-powered smart doorbells will need regular battery checks. Ensure the batteries are charged or replaced when needed to avoid interruptions in service.
Consider upgrading your system periodically to include improved security features or smart integrations. Many new models offer enhanced video resolution, wider fields of view, and advanced motion detection, which can significantly boost your home security.
Thinking of the future, you might want to integrate your smart doorbell with other smart home devices. This could include linking it to smart lights or security cameras, creating a comprehensive network that enhances your property’s security.
In conclusion, regular maintenance and thoughtful upgrades are key to ensuring your smart doorbell system remains an effective part of your home security solution. Staying proactive will help you enjoy peace of mind knowing that your home is protected with the latest technology.
Understanding Smart Doorbells and Their Benefits
Smart doorbells have revolutionized home security systems by providing features that traditional doorbells simply cannot match. One of the primary benefits is enhanced security. With a smart doorbell, homeowners can monitor visitors remotely, giving peace of mind whether you’re home or away. These devices are equipped with cameras that offer real-time video streaming and recording capabilities.
Another significant advantage is the convenience they bring. Smart doorbells allow for two-way communication, enabling you to speak with visitors through a connected smartphone app. This feature adds an extra layer of interaction and security by verifying visitors without needing to open the door.
When selecting the best smart doorbell for your needs, consider several factors. Look for models with high-resolution video, night vision, and motion detection capabilities. These features ensure that you capture clear images and detect movement accurately. Check for compatibility with your home’s existing systems and other smart devices. Popular smart doorbell options include brands like Ring, Nest Hello, and Arlo, each offering unique features suited to different user needs.
Preparation and Tools for Installing a Smart Doorbell
Before you begin the smart doorbell installation, it’s essential to gather the necessary tools and materials to ensure a smooth process. First, check that your existing doorbell wiring is compatible with the new smart model. Most smart doorbells require a wired connection for power, so existing doorbell wires should match the specifications given by the manufacturer. This step is crucial in avoiding installation issues.
Prepare by assembling the following tools and materials: a screwdriver, wire stripper, drill with drill bits, electrical tape, level, and, if necessary, a power adapter if your current wiring doesn’t supply enough power. Some smart doorbell kits include mounting brackets and anchors, so confirm what’s in your package to prevent duplication.
Additionally, download the doorbell’s corresponding app beforehand, as it often provides step-by-step guidelines and instructional videos. Follow these preparatory steps to ensure you have everything needed for the installation process, paving the way for a successful and efficient upgrade to your home entrance experience.
Frequently Asked Questions About Installing Smart Doorbells
Do I need to turn off the power before installing a smart doorbell?
Yes, always turn off the power to your existing doorbell at the circuit breaker to ensure safety during installation.
What if my existing wiring isn’t compatible with the smart doorbell?
You may need to upgrade your transformer or install additional components. Check the manufacturer’s instructions for compatibility requirements.
Can I install a smart doorbell myself, or do I need a professional?
You can install it yourself if you’re comfortable with basic electrical work. Otherwise, hiring a professional is advisable for complex systems.
How do I know if my installation was successful?
Test the smart doorbell by pressing it and checking the alerts on your smartphone. Ensure all functions work correctly.
How often should I perform maintenance on my smart doorbell?
Regularly check for software updates and inspect wiring connections every few months to ensure optimal performance.
What should I do if my smart doorbell is not connecting to Wi-Fi?
Ensure your Wi-Fi signal is strong and that the doorbell is within range. Reset the connection if necessary.