Imagine transforming the atmosphere of your living room in just a weekend with the simple yet impactful addition of recessed lighting. This DIY project not only elevates your space’s aesthetics but also offers a chance to enhance your electrical skills. Discover how this seemingly complex task can be tackled with ease and precision, blending style with functionality.
- Explore the strategic planning required to map out a perfect recessed lighting layout tailored to your living room.
- Gain insights into selecting the right tools and materials that ensure durable and efficient installation.
- Unlock the step-by-step process that guides you through cutting, wiring, and securing fixtures with professional accuracy.
Ready to take on this home improvement challenge? Embark on this weekend project and enjoy a transformed, energy-efficient living space that boasts both elegance and practicality.
Planning Your DIY Recessed Lighting Installation: Transform Your Living Room in a Weekend
Embarking on a DIY recessed lighting installation project necessitates meticulous planning to ensure a smooth and successful transformation of your living room. The initial phase involves understanding the essential planning steps that will significantly impact the final outcome.
Begin by choosing the right type of recessed lights for your space. Consider factors such as the size of the room, the ceiling height, and the desired illumination level. LED recessed lights are a popular choice due to their energy efficiency and longevity. When selecting fixtures, take into account their trim style and color to match your existing décor.
Next, map out your lighting layout. The placement of your lights is critical to achieving balanced and effective illumination. It is advisable to space the fixtures evenly and focus on areas that require accent lighting, such as above seating areas or art pieces. Utilize graph paper or digital design tools to visualize the desired layout. This will help you determine the number of fixtures needed and the optimal spacing between them.
Consider electrical requirements and safety precautions. Verify the existing electrical capacity in your home to accommodate the new fixtures, and determine if you need to install additional wiring or circuits. Safety is paramount, so familiarize yourself with necessary precautions, ensuring your work complies with local regulations and standards.
Lastly, plan for any potential obstacles, such as beams or ductwork hidden within your ceiling. Having a comprehensive understanding of these factors in advance will help you address them efficiently during the installation process.
Essential Tools and Materials for Recessed Lighting Projects
Having the right tools and materials is crucial for the successful installation of recessed lighting. This section provides a concise guide to ensure you’re well-prepared for the process.
To start, gather essential tools such as a drywall saw, measuring tape, and a voltage tester. A drill with a hole saw attachment will be invaluable for creating precise openings in your ceiling, while a screwdriver will assist in securing the fixtures. Wire strippers and a voltage tester are necessary for safe electrical connections.
In terms of materials, invest in high-quality recessed lighting kits. Look for kits that include both housing and trims, specifically designed for your ceiling type—whether it’s new construction or a remodel. Pay close attention to the rated wattage and choose compatible LED bulbs for optimal energy efficiency.
Additional materials include wiring, connectors, and junction boxes. These ensure a reliable electrical connection throughout your project. If you’re unsure about electrical components, consulting a certified electrician can provide valuable guidance.
By preparing with the right tools and materials, you’ll set a solid foundation for your recessed lighting installation. This preparation not only facilitates a smoother process but also enhances safety and ensures lasting results.
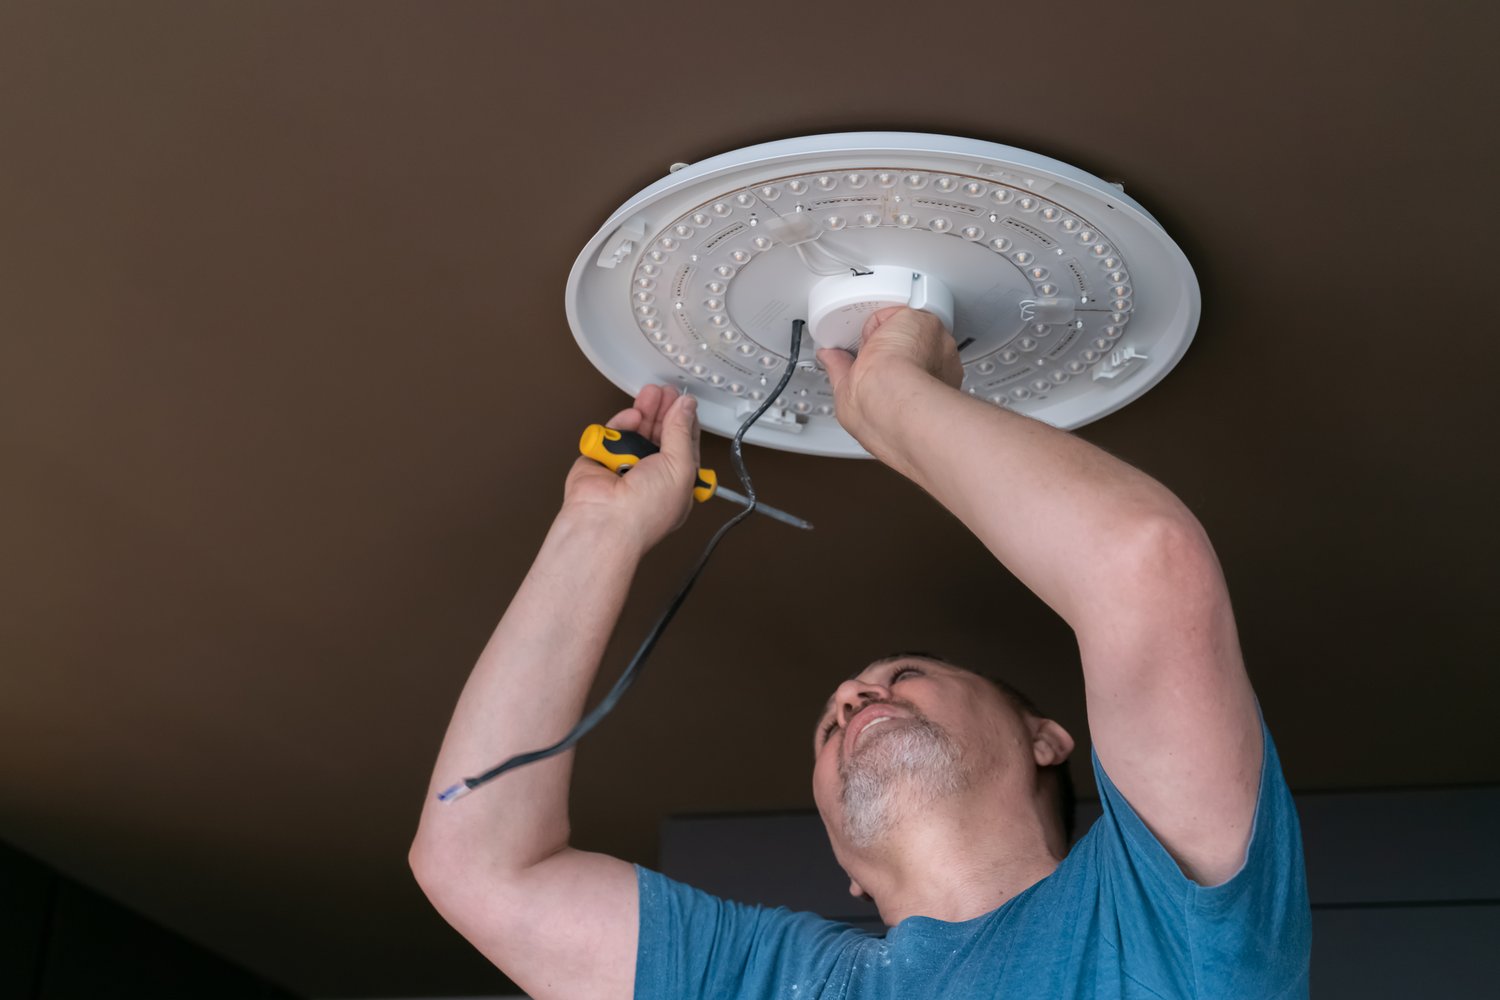
Step-by-Step DIY Recessed Lighting Installation: Transform Your Living Room in a Weekend
Ready to take your living room’s lighting to the next level with recessed lighting? Follow this comprehensive, step-by-step guide to install your new lights over just a weekend. You’ll gain not only an upgraded space but also the satisfaction of a job well done.
Begin by turning off the power to your living room’s existing electrical circuits at the breaker box. Safety is a priority, so double-check that the power is off using a voltage tester before proceeding. Once confirmed, you’re ready to embark on your DIY recessed lighting adventure.
Preparing the Ceiling: Mark the locations where you plan to install the recessed lights. Using a stud finder will help you to avoid joists and ensure each light is properly spaced. Once marked, use a drywall saw or hole cutter to create openings for the light housings.
Wiring the Lights: With the holes in place, it’s time to wire your lighting circuit. Carefully run electrical cables from your power source to each of the recessed light locations. Ensure all connections are made using wire nuts and are securely fastened. Affix the cable to the joists using staples, maintaining a neat and organized cabling layout.
Installing the Fixtures: Insert the housing cans into the openings you’ve made in the ceiling and secure them with the attached clips or brackets. Most modern recessed lights come with quick-connect fittings, simplifying the process of connecting the housing to the wiring.
Test Before Finalizing: Once all the recessed lights are in place, restore power to the circuit and test each fixture by using the designated switches. This step allows you to confirm that each light functions correctly before sealing the ceiling.
After ensuring everything is working as expected, fit the light trims and baffles to the ceiling for a polished look. These not only cover any inconsistencies around the edges of your cutouts but also enhance the overall aesthetic.
With your new recessed lighting successfully installed, you can enjoy the subtle ambiance and energy efficiency they’re known for. This project not only enhances your interior but adds value to your home by introducing a high-end lighting solution. Happy transforming!
Common Questions on DIY Recessed Lighting Installation
What is the ideal number of recessed lights for a living room?
Generally, one recessed light per 4 to 6 square feet of ceiling space is recommended for even illumination.
Can I install recessed lighting without attic access?
Yes, you can use remodel recessed lights designed for installations from below the ceiling.
What safety precautions should I take during installation?
Always turn off the power at the circuit breaker and test wires with a non-contact voltage tester before proceeding.
Which type of recessed lighting is most energy-efficient?
LED recessed lights are the most energy-efficient and long-lasting option available.
Do I need a permit to install recessed lights?
Permit requirements vary by location, so check with your local building authority.