Imagine walking into your home, only to find it suddenly transformed into a miniature water park due to a burst pipe. Preventing such situations starts with a simple yet crucial fixture: your home’s main water shut-off valve. When disaster strikes, knowing how to efficiently replace this valve can mean the difference between a quick fix and extensive water damage. In this guide, we delve into the steps needed to equip your home for water-related emergencies.
- Home Safety: Explore why a functional main water shut-off valve is vital for preventing water damage during plumbing emergencies.
- Tools and Materials: Get a list of essential tools and materials needed for a seamless valve replacement process.
- Step-by-Step Instructions: Follow a detailed guide to ensure a safe and smooth valve replacement, equipping you to handle this task with confidence.
By mastering the steps to replace your home’s main water shut-off valve, you’ll bolster your ability to handle plumbing issues efficiently. This guide is not just an emergency plan—it’s a step towards enhancing your home’s resilience, a skill worth sharing with family and friends.
Step-by-Step Guide: How to Replace Your Home’s Main Water Shut-Off Valve
Replacing your home’s main water shut-off valve is a crucial step in maintaining your plumbing system’s integrity. Ensuring that your shut-off valve functions properly can prevent costly water damage during emergencies. Follow these detailed instructions to ensure a smooth and safe replacement process.
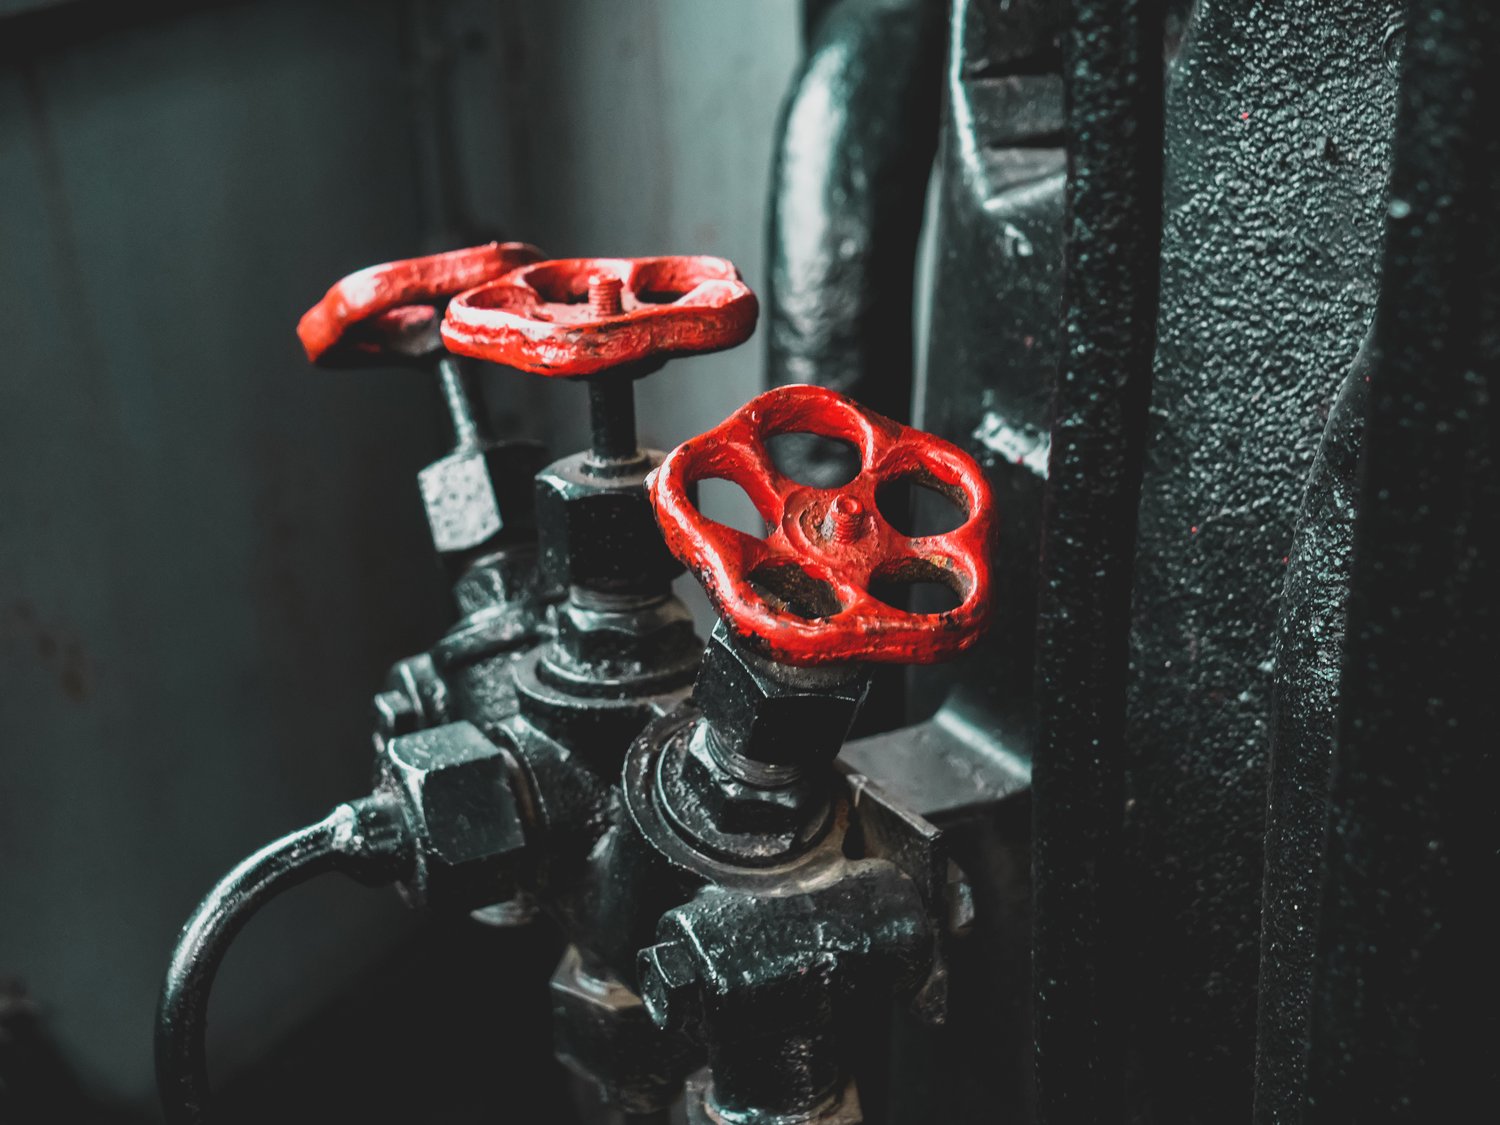
Step 1: Locate the Main Water Shut-Off Valve
First, identify the location of your main water shut-off valve. This is typically found near the water meter, in the basement, or where the main water line enters the house. Knowing the location is essential for a quick response in case of plumbing emergencies.
Step 2: Turn Off the Water Supply
Before you begin the replacement, turn off the water supply to your home. This will prevent water from flowing into the pipes during the process, minimizing the risk of leaks or flooding. Confirm that the water is completely shut off by testing a faucet.
Step 3: Drain the Pipes
Open faucets in your home to drain the remaining water from the pipes. This step reduces pressure within the system and makes the replacement procedure safer and less messy.
Step 4: Remove the Old Shut-Off Valve
Use a wrench to loosen the nuts connecting the old valve to the pipes. Carefully remove the valve from the pipe system. Ensure that you have a clear workspace to access and replace the valve.
Step 5: Prepare for Installation
Before installing the new valve, inspect the pipes for any damage or corrosion. Clean the pipe ends to ensure a proper fit. Apply plumbing tape to the threaded areas to create a watertight seal.
Step 6: Install the New Shut-Off Valve
Position the new shut-off valve, ensuring that it aligns with the existing pipes. Securely tighten it with a wrench, taking care not to over-tighten as this can cause damage to the connections.
Step 7: Test the Installation
Once the new valve is in place, gradually turn on the water supply. Check for leaks around the valve and connections. If you notice any leaks, tighten the connections as needed.
Step 8: Complete the Process
After confirming that there are no leaks, close and open the valve to ensure its functionality. Restore water to your home by turning the water supply fully on. Finally, clear your workspace and store your tools properly.
By following these steps, you can confidently replace your home’s main water shut-off valve and enhance your plumbing system’s reliability during unexpected water emergencies. Regularly inspect and maintain the valve to ensure optimal performance and safeguard your property.
Why Replacing the Shut-Off Valve Matters: Ensuring Home Safety
The main water shut-off valve is an often-overlooked component that plays a pivotal role in maintaining the safety and integrity of your home. Ensuring it is functional and reliable is crucial for several reasons.
Firstly, this valve is your primary line of defense against water damage. In the event of a plumbing emergency, such as a burst pipe or significant leak, a timely shut-off can prevent costly water damage. Water damage not only affects the structural integrity of your home but can also lead to mold growth, which poses health risks to the household.
Additionally, a faulty shut-off valve can lead to increased water bills due to undetected leaks or drips. By replacing an old or malfunctioning shut-off valve, you ensure that you can quickly and effectively control the water supply, thus minimizing these risks.
Moreover, improving your home’s plumbing system by replacing the shut-off valve enhances safety. In cases of scheduled maintenance or repairs, being able to shut off the water supply with certainty can prevent accidents and ensure that the repair process goes smoothly.
In summary, having a reliable main water shut-off valve is an essential part of home safety. Regular inspection and replacement when necessary can make a significant difference in protecting your home from unexpected plumbing disasters.
Essential Tools and Materials for the Task
Before embarking on the process of replacing your home’s main water shut-off valve, it’s vital to gather all necessary tools and materials. Having the right equipment on hand not only saves time but also ensures a successful and smooth replacement process.
Start with wrenches, which are indispensable for loosening and tightening the fittings connected to the shut-off valve. Consider both an adjustable wrench and a pipe wrench to handle different sizes and types of fittings.
Next, include a pipe cutter in your toolkit. This tool is essential for making precise cuts to remove the old valve and fit the new one. Opt for a quality pipe cutter that can handle different pipe materials, such as PVC or copper.
Additionally, choosing an appropriate replacement valve is crucial. Ensure the new valve matches the specifications of your existing plumbing. Ball valves are a popular choice for their durability and ease of use.
Other helpful materials include Teflon tape for sealing threaded connections, ensuring they are watertight to prevent leaks. Moreover, having some clean rags or towels will help you manage any water that may spill during the replacement.
By assembling these essential tools and materials in advance, you can approach the task with confidence, minimizing disruption and ensuring a successful outcome.
Frequently Asked Questions
What tools do I need to replace the main water shut-off valve?
- Wrenches
- Pipe cutters
- Replacement valve
Can I replace the shut-off valve myself?
Yes, with proper tools and guidance, you can replace it yourself following the steps in the guide.
How often should I check my main water shut-off valve?
Check your valve every 6 to 12 months to ensure it is working properly.
What are signs that my shut-off valve needs replacement?
If the valve is leaking, hard to turn, or fails to stop water completely, it needs replacement.
Why is having a functional shut-off valve important?
It prevents water damage during plumbing emergencies by allowing you to stop water flow quickly.