Wiring a ceiling fan with a light can transform your living space, enhancing both comfort and aesthetics. With the right approach, you can safely and efficiently complete this task, adding a functional and stylish feature to your home. This guide is designed to assist every homeowner, regardless of experience level, to achieve a successful installation.
- Discover essential safety tips before you begin the wiring process, ensuring every step is secure and risk-free.
- Learn about the tools and materials you’ll need to gather for a smooth and hassle-free ceiling fan installation.
- Follow clear, step-by-step instructions to wire your ceiling fan with confidence, covering every detail from grounding to blade attachment.
- Find out how to test your installation and troubleshoot any issues, ensuring your fan and light work seamlessly.
By engaging with this article, you’ll gain the knowledge and confidence to install a ceiling fan with light, elevating your home’s atmosphere and functionality. Whether you’re a seasoned pro or just starting out, this guide promises valuable insights for all.
Step-by-Step Guide on How to Wire a Ceiling Fan with Light: Safe Installation Instructions
Wiring a ceiling fan with light can seem like an ambitious project, but following a step-by-step guide can make the process manageable and safe. Start by ensuring all power is turned off at the circuit breaker to avoid any electrical risks. Use a voltage tester to confirm that there is no power running to the wires you will be working with.
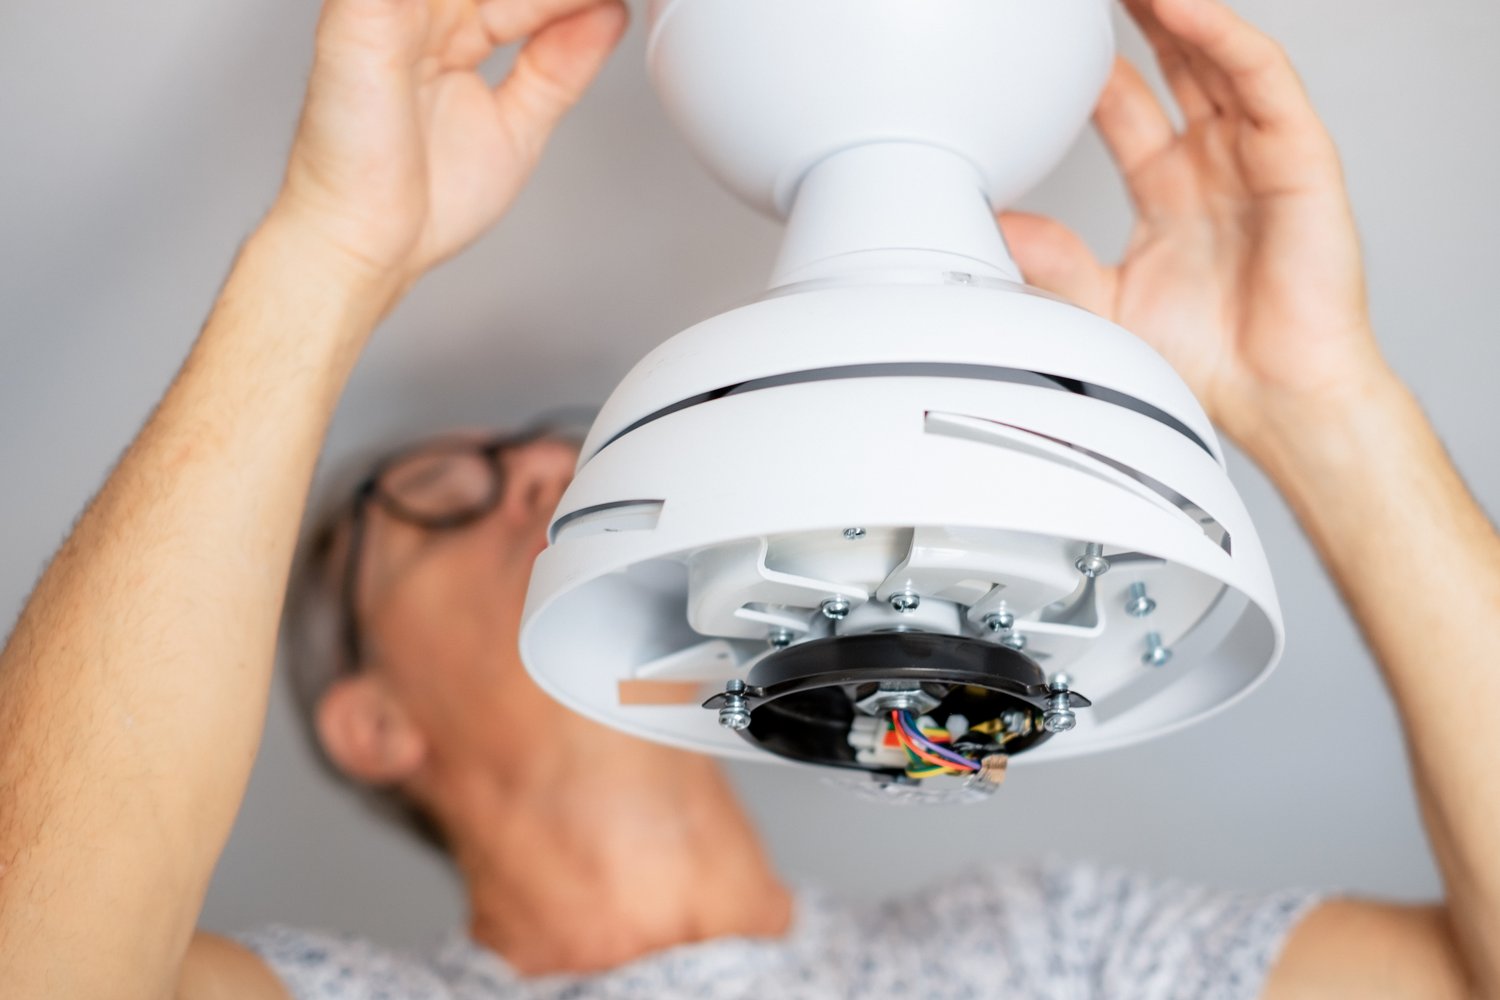
Begin by connecting the ground wires. Locate the copper or green wire from the ceiling and the fan, and twist them together securely. Use a wire nut to fasten them, ensuring a tight connection to prevent any electrical faults. Once grounded, move on to the hot wires, typically colored black or red. Connect the black wire from the ceiling to the black or blue wire from the fan. This combination often controls the fan motor.
Next, join the neutral wires. These wires are usually white. Match the white wire from the ceiling to the white wire from the fan, ensuring consistent connectivity. If your ceiling fan has an additional wire for a light fixture, attach the separate blue wire from the fan to the black wire from the ceiling if it hasn’t already been used. This setup allows independent operation of the fan and light.
After the wiring, carefully tuck all wires into the junction box. Then, it’s time to secure the fan blades. Follow the manufacturer’s instructions to mount the fan blade brackets and securely fix the fan blades. Ensure each component is tightened to avoid wobbling or noise during operation.
Finally, check the stability of all screws and nuts, as loose components could lead to operational issues. Double-check all connections for any loose wires or uncapped ends. Completing these steps methodically can ensure that your ceiling fan is safe and ready for use.
Testing and Troubleshooting Your Ceiling Fan and Light Setup
After completing the installation, it’s essential to test your ceiling fan and light setup. Start by turning the power back on at the circuit breaker. Use the fan’s wall switch or remote control to power on the fan.
If the fan or light doesn’t operate correctly, don’t panic. Begin troubleshooting by checking your connections. Ensure that all wires are connected to their correct terminals. A common issue may be loose wiring or improper connections.
In case of unusual noises or wobbling, check that the fan blades are balanced and secured. Tighten any loose screws to resolve these issues. Consider using a balancing kit if the problem persists, as unbalanced blades can lead to inefficient operation and increase wear on the motor.
If the light doesn’t work, inspect the light bulb for issues like looseness or if it’s blown. Replacing the bulb might fix the problem. In situations where the fan doesn’t respond to remote control inputs, address potential battery issues or reprogram the remote according to the manufacturer’s guidelines.
Ensuring each element works as intended confirms that the wiring is correct and the fan functions efficiently. Should any problems persist beyond basic troubleshooting, consulting with a professional electrician can provide peace of mind and ensure complete safety in your setup.
Enhancing Home Aesthetics and Functionality with Your New Ceiling Fan
Installing a ceiling fan with light not only improves airflow but also adds a stylish element to your home. To maximize the benefits of your new installation, consider the following tips for incorporating energy-efficient lighting and maintaining optimal performance over time.
Choose the Right Bulbs for Energy Efficiency
Selecting the right light bulbs for your ceiling fan is crucial for enhancing energy efficiency. Opt for LED bulbs, which offer lower energy consumption and longer lifespan compared to traditional incandescent bulbs. This choice not only reduces electricity bills but also contributes to environmental sustainability.
Optimize Ceiling Fan Direction and Speed
To maintain comfort year-round, take advantage of the fan’s reversible motor feature. In warmer months, set the fan to rotate counterclockwise to create a cooling breeze. During colder months, switch the direction to clockwise, circulating warm air back into the living space.
Regular Maintenance for Long-lasting Performance
Regular upkeep ensures your ceiling fan operates efficiently and quietly. Clean the fan blades periodically to prevent dust accumulation, which can affect performance. Also, inspect the connections and tighten any loose screws, ensuring the fan remains securely mounted.
Finally, consider integrating smart controls for convenient operation. Smart remotes or home automation systems allow you to adjust fan settings from anywhere, optimizing both comfort and energy usage.
Understanding the Basics of Wiring a Ceiling Fan with Light: Essential Safety Tips
Before embarking on the installation of a ceiling fan with light, it’s paramount to understand the basics of electrical wiring safety. This knowledge not only ensures the safe handling of electrical components but also minimizes potential risks. Start by turning off the power at the circuit breaker to eliminate any chance of electric shock. Double-check the power is off using a voltage tester before handling any wires.
Familiarize yourself with the different parts of the ceiling fan and lighting setup. Knowing how each component works will help you identify and resolve potential issues throughout the installation. Remember, using high-quality tools and following manufacturer guidelines is essential for a successful project.
Additionally, consider consulting the local building codes to ensure your installation meets current electrical standards. By prioritizing safety and understanding these basics, you’re setting a solid foundation for a complication-free and secure installation process.
Choosing the Right Tools and Materials for Ceiling Fan Installation
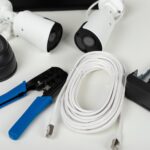
The selection of the right tools and materials plays a crucial role in the successful installation of a ceiling fan with light. Begin by gathering essential hand tools such as a flat-head screwdriver and a Phillips-head screwdriver, which are vital for assembling and securing fan components. A voltage tester is required to confirm the circuit is de-energized and safe to work on, while a wire stripper will help in preparing the wires for connections.
In addition to these tools, ensure you have the ceiling fan kit, which typically includes the fan motor, blades, lighting fixture, and mounting hardware. Some installations may require additional materials like wire nuts and electrical tape, so it’s best to check the specific requirements of your ceiling fan model beforehand.
Having all necessary tools and materials at hand streamlines the installation process, minimizes interruptions, and significantly reduces the time it takes to complete the setup. This preparation ultimately results in a faster, safer, and more efficient installation experience.
Frequently Asked Questions about Wiring a Ceiling Fan with Light
Do I need an electrician to install a ceiling fan with light?
If you are not confident in your electrical skills, it’s best to consult an electrician.
What tools are essential for installing a ceiling fan with a light?
- Screwdriver
- Voltage tester
- Wire stripper
- Ladder
How do I ensure safety when wiring a ceiling fan?
Always turn off power at the circuit breaker before beginning any electrical work.
Can a ceiling fan be installed without attic access?
Yes, it can be installed using a ceiling fan-rated box and following proper installation instructions.
What if my ceiling has no existing wiring?
You may need to run new wiring and install a suitable junction box.
How can I troubleshoot if the fan or light doesn’t work?
Check the circuit breaker, ensure connections are secure, and verify the wall switch functionality.