The era of copper piping is nearing its sunset as more homeowners and professionals make the switch to PEX pipes, drawn by their flexibility, cost-effectiveness, and ease of installation. Are you considering upgrading your plumbing system? Converting from copper to PEX could be your smartest decision yet, promising improved efficiency and durability while reducing your maintenance worries.
- Discover why PEX pipes are rapidly becoming the preferred choice over traditional copper, offering unique advantages that transform plumbing systems.
- Familiarize yourself with the essential tools and materials you’ll need for a successful PEX installation, ensuring a smooth and efficient transition.
- Follow a detailed step-by-step guide on removing old copper pipes and fitting new PEX ones, making the conversion process straightforward.
- Learn how to tackle common challenges in PEX pipe installation, from avoiding leaks to ensuring correct fittings, with practical solutions that experts rely on.
This guide aims to arm you with the knowledge and confidence needed for a successful conversion, highlighting the steps and benefits that make PEX a standout choice in modern plumbing. Dive in and take the first step towards a more efficient plumbing system!
Understanding PEX Pipe Installation Guide: Converting from Copper to Modern Plumbing
In recent years, PEX pipes have become increasingly popular in modern plumbing systems, providing an appealing alternative to traditional copper piping. The advantages associated with PEX, such as flexibility, cost-effectiveness, and ease of installation, have made them a top choice for homeowners and professionals alike.
Unlike copper pipes, PEX does not corrode or develop scale buildup over time. Its flexibility allows it to be installed in long runs with fewer connections, reducing the potential for leaks. Furthermore, the material’s ability to expand and contract makes it ideal for climates subject to freezing temperatures.
The transition from copper to PEX is not just about swapping out materials—it’s a process that requires careful planning. Before starting the conversion, consider the existing plumbing layout and determine the best pathways for the new PEX lines. Assessing the home or building’s unique needs ensures the plumbing system meets efficiency and reliability standards.
By understanding these key factors, you can effectively implement PEX pipes in your plumbing system, resulting in a robust, efficient, and modern setup.
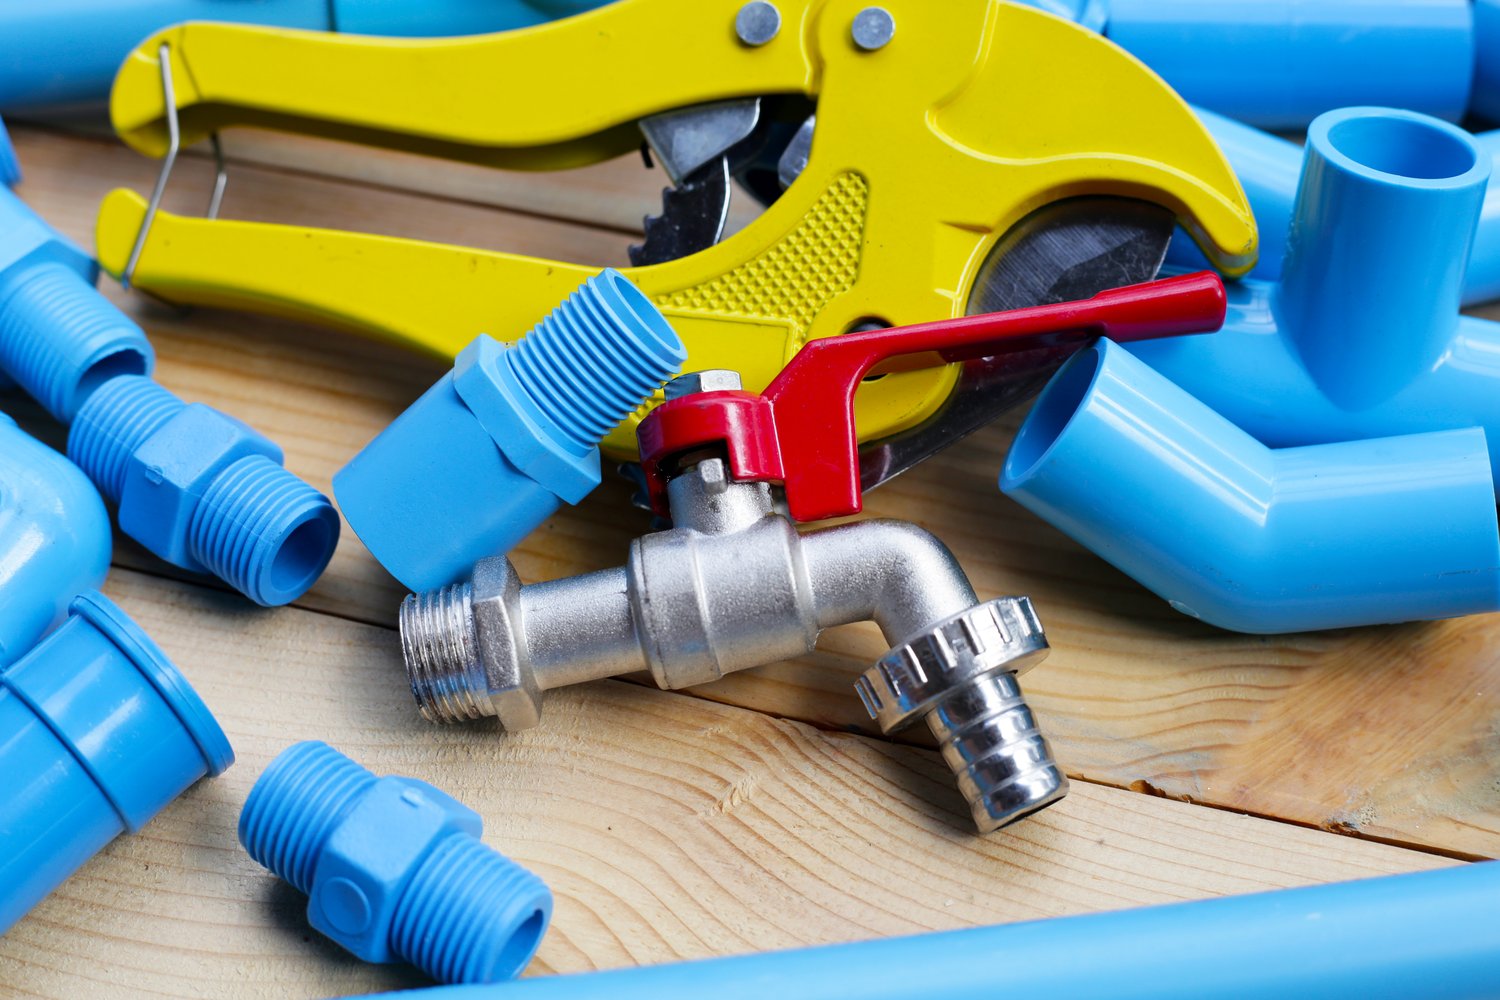
Tools and Materials Required for PEX Pipe Installation
A successful PEX installation demands the right tools and materials. Start with high-quality PEX piping, available in various sizes and colors to distinguish hot and cold water lines. It is essential to choose the correct type: PEX-A, PEX-B, or PEX-C, each suited for specific applications.
Essential tools include a pipe cutter or ratchet cutter designed for clean and precise cuts. PEX crimp tools ensure secure connections, while a go/no-go gauge verifies crimp accuracy. Additionally, invest in a PEX expansion tool if opting for the expansion fitting method, which allows the pipe to revert to its natural size for a tight fit around the fitting.
Fittings such as crimp rings and couplings are critical, along with a manifold if the system design includes centralized water distribution. Consider using a deburring tool to smooth out any rough edges before fitting the pipes.
Equipping yourself with the correct tools and materials not only simplifies the installation process but also ensures a durable and long-lasting plumbing system.
Step-by-Step PEX Pipe Installation Guide: Converting from Copper to Modern Plumbing
Transitioning from traditional copper pipes to modern PEX piping can revolutionize your plumbing system. This comprehensive guide walks you through every step to ensure a smooth and effective installation process.
Step 1: Safety First
Before embarking on the conversion journey, ensure you turn off the main water supply. Drain the existing lines completely to avoid any water spillage during the replacement process.
Step 2: Removing Copper Pipes
Carefully cut the existing copper pipes using a pipe cutter. Make sure you support the pipe while cutting to prevent any accidental bending or breaking. Once cut, remove them from the plumbing system, paying close attention to the joints and fittings.
Step 3: Prepping for PEX Installation
Inspect the existing system layout and plan the PEX pipe routes accordingly. Measure and cut the PEX piping to the required lengths, allowing for connectors and fittings.
Step 4: Fitting the PEX Connections
Start fitting the PEX connections by utilizing the designated tools for the installation. Crimping or cinching tools are essential for creating tight and secure connections. Ensure that each fitting is correctly aligned and fastened to eliminate the risk of leaks.
Step 5: Pressure Testing
Once all PEX pipes are installed, conduct a pressure test. This step is crucial to identify any leaks or weaknesses in the system. If any issues are detected, recheck the connections and secure them properly.
By following these detailed steps, you can confidently upgrade to a PEX plumbing system, ensuring efficiency and reliability in your home or commercial property.
Common Challenges and Solutions in PEX Pipe Installation
Installing PEX pipes can present certain challenges. Understanding these issues and knowing how to tackle them is vital for a successful conversion.
Leakages in New Connections
Leaking is a common problem often caused by loose fittings or improperly crimped connections. To solve this, double-check each fitting and ensure the crimping tool is correctly calibrated to provide a secure seal.
Incompatibility with Existing Systems
Sometimes, PEX may not fit seamlessly with your home’s current plumbing system. Utilize transition fittings designed specifically for connecting PEX to copper or other materials to bridge the gap effectively.
Incorrect PEX Alignment
Misalignment during installation can lead to bends and potential blockages. Carefully plan the pipe routes in advance and use PEX supports to maintain the intended flow path, reducing unnecessary strain on the piping.
By anticipating these common challenges and applying the appropriate solutions, you can ensure a smooth transition from copper to PEX, highlighting both the advantages and efficiency of modern plumbing systems.
Frequently Asked Questions: PEX Pipe Installation
What are the main benefits of using PEX over copper?
Flexibility, cost-effectiveness, and resistance to corrosion.
Do I need special tools for PEX installation?
Yes, including PEX cutters, crimp or cinch tools, and fittings.
Can PEX pipes be used for both hot and cold water?
Yes, PEX is suitable for both hot and cold water lines.
How do I prevent leaks in PEX fittings?
Ensure proper fitting and follow manufacturer’s guidelines closely.
What’s the lifespan of a PEX piping system?
Typically, 25 to 50 years depending on usage and exposure.
Is PEX piping environmentally friendly?
Yes, it’s more environmentally friendly due to energy-efficient manufacturing and installation.
Are there any concerns with PEX pipes and freezing temperatures?
PEX is more resistant to freeze damage but should still be insulated.