A mysterious puddle forming beneath your sink can quickly transform into a homeowner’s nightmare. Not only is it a signal that something is amiss with your plumbing, but if left unaddressed, it can escalate into a costly disaster. Understanding how to tackle this common issue can empower you to address the problem swiftly and efficiently, avoiding the hefty bill of calling in a professional.
- Explore the common causes of leaks such as worn-out seals and corrosion that may be compromising your piping system.
- Discover the essential tools you need, from adjustable wrenches to pipe tape, to execute a seamless DIY repair.
- Follow detailed, step-by-step instructions designed to help you identify, troubleshoot, and resolve the issue beneath your sink.
By diving into this guide, you’ll gain invaluable insights that not only fix the issue at hand but also empower you with practical skills to tackle minor plumbing predicaments confidently in the future. Unlock the know-how to safeguard your home and ensure your plumbing system functions at its best.
Leaking Pipes Under Sink: Step-by-Step Instructions for Repair
Dealing with leaking pipes under the sink can be daunting, yet with the right approach and tools, it’s a manageable task. Follow these step-by-step instructions to fix plumbing leaks efficiently and restore the integrity of your sink’s piping system. By addressing leaks promptly, you also prevent water damage and the growth of mold, which can lead to costly repairs.
Step 1: Assess the Leak
Before starting any repairs, inspect the area beneath the sink. Turn on the water and observe closely where the leak originates. Check connections, seals, and each section of the pipe for visible signs of wear or damage. By accurately locating the source of the leak, you can determine whether a simple repair is sufficient or if replacement parts are necessary.
Step 2: Shut Off the Water Supply
Turning off the water supply is crucial before disassembling any part of the plumbing system. Locate the shut-off valves under the sink, typically found by the pipes. Turn the valves clockwise until you feel resistance, ensuring a complete stop of water flow. This step prevents unexpected water discharge, keeping your workspace dry and manageable.
Step 3: Disassemble the Pipes
Once the water is off, carefully disassemble the leaking section of the pipes. Use an adjustable wrench to loosen coupling nuts and other fittings. For joints secured with pipe tape or sealant, proceed gently to avoid additional damage. Place removed components on a towel or container to keep them organized and prevent losing small parts.
Step 4: Repair or Replace Damaged Parts
Examine each disassembled part for signs of wear or damage. Replace damaged washers, seals, or entire sections of pipe if necessary. When replacing parts, ensure compatibility with your existing plumbing setup to avoid future leaks. Reapply pipe tape or sealant to threads before reassembling, ensuring a tight, watertight fit.
Step 5: Reassemble and Test
Carefully reassemble the plumbing connections and tighten them with the adjustable wrench. Make sure all fittings are secure but avoid overtightening to prevent stress on the pipes. Once reassembled, turn the water supply back on and check for leaks. Monitor the repaired area for several minutes to confirm the fix, ensuring peace of mind and functionality.
By following these detailed steps, you can effectively repair leaks under your sink without professional help. These DIY plumbing skills not only save you money but also empower you to handle similar issues confidently in the future.
Identifying the Causes of Leaking Pipes Under Sink
Leaking pipes under the sink are a common issue that can lead to water damage and increased water bills if not addressed promptly. Understanding the underlying causes of these plumbing leaks can help you tackle the problem efficiently. Several factors might contribute to this issue:
Worn-out Seals: Over time, seals around pipe joints can deteriorate due to constant exposure to water and changes in temperature. This deterioration often leads to leaks. Inspect the seals for any signs of wear or cracking to identify potential sources of leaks.
Loose Connections: Pipes under the sink can become loose due to vibrations or incorrect installation. These loose connections can result in water seeping through, causing substantial leaks. Regularly check for and tighten any loose fittings in the plumbing assembly.
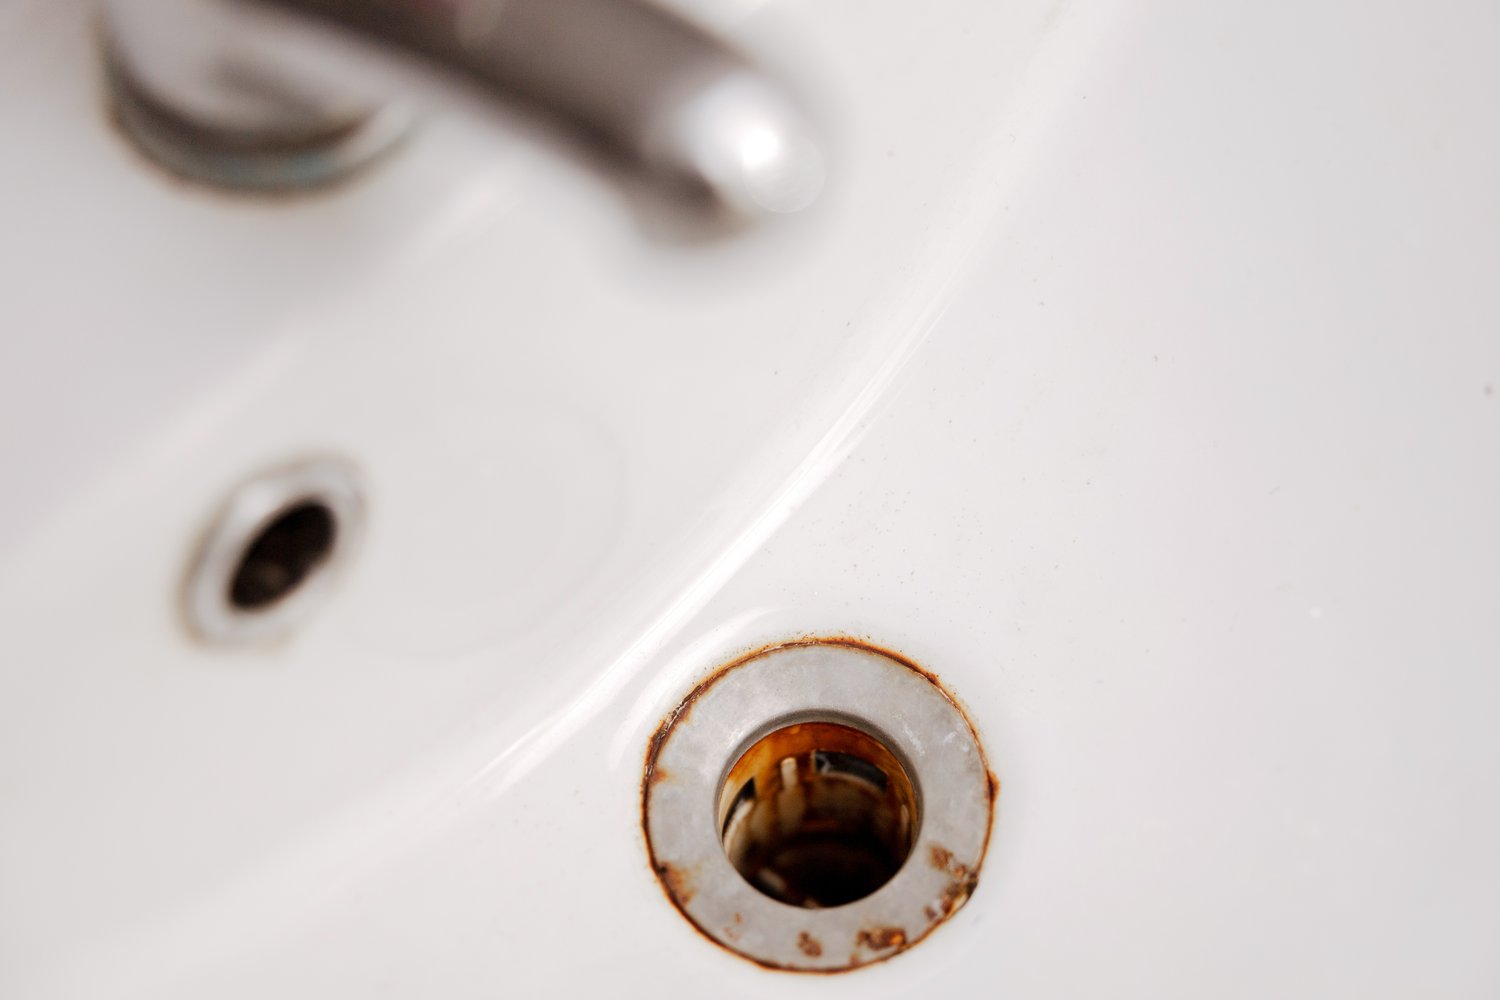
Corrosion: Particularly in older homes, pipes made of metal can corrode over time due to moisture and environmental factors. Corroded pipes are prone to cracks and holes, which lead to leaks under the sink. It is crucial to assess the material of your pipes and be vigilant for any signs of rust and decay.
By carefully diagnosing these common causes of leaks, you can address the issues effectively, preventing further damage and avoiding costly repairs.
Tools You’ll Need for the Job
Repairing leaking pipes under the sink doesn’t require a comprehensive toolkit, but having the right tools can make the process smoother and more efficient. Here are the essential plumbing tools you will need:
Adjustable Wrench: An adjustable wrench is vital for loosening or tightening pipe fittings. Its adjustable nature allows it to fit various sizes of bolts and nuts, making it versatile for plumbing tasks.
Pipe Tape: Also known as plumber’s tape or Teflon tape, this is critical for sealing pipe threads to prevent future leaks. It helps ensure a watertight fit when reassembling threaded pipe connections.
Replacement Washers: Damaged or worn washers are common culprits of leaks under the sink. Having replacement washers on hand will enable you to secure pipe connections properly and prevent seepage.
With these essential tools in your arsenal, you can confidently undertake plumbing repairs under the sink and maintain a leak-free plumbing system.
Frequently Asked Questions
What are the common signs of a leaking pipe under the sink?
Look for water stains, dampness, or puddles under the sink, and listen for dripping sounds.
Can I use regular tape to stop a pipe leak temporarily?
It’s best to use pipe tape as it’s designed to seal leaks, but in urgent cases, duct tape can temporarily help until a proper fix is possible.
How often should I replace washers to prevent leaks?
Inspect and replace washers every 2-3 years or whenever you notice signs of wear.
Is it necessary to turn off the water supply before fixing a leak?
Yes, always turn off the water supply to avoid water damage and ensure safety while working on the pipes.
What type of pipe sealant should I use?
Use a quality pipe thread sealant or PTFE tape for a durable, watertight seal.